This is the way…
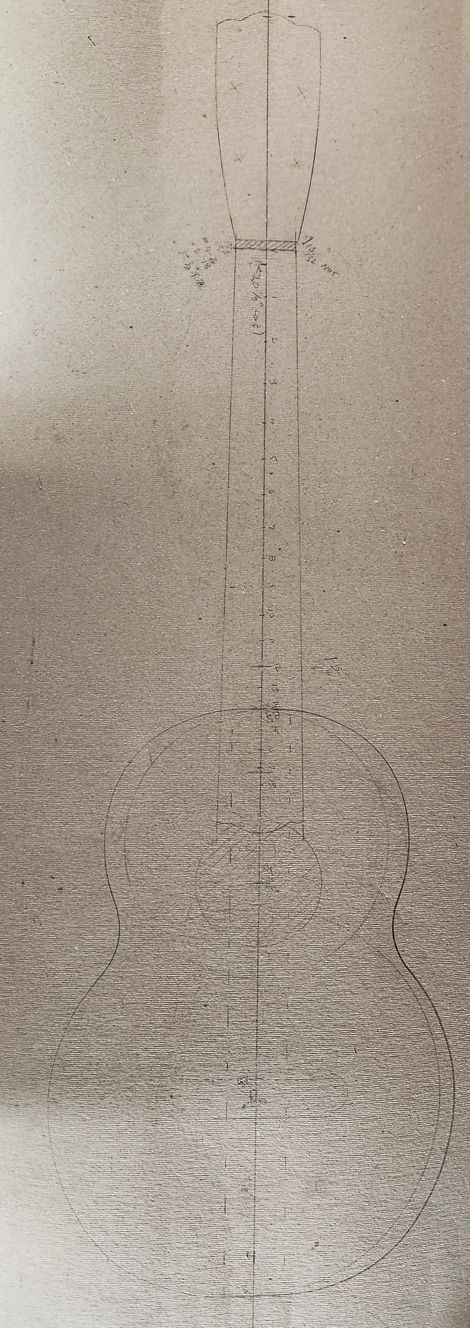
We’ll start with an idea and a plan. The idea is to build a baritone ukulele with circular sections mimicking a drum head in order to see if we can get some good thump out of a little box. The plan doesn’t have to be complex or detailed, just enough to guide us and remind us of basic dimensions so we don’t have to re-measure every time we start building a new part as in… uh, what was our scale length? etc., etc,. Not a great photo but it gets the point across – I start with a plan. Your mileage may vary.
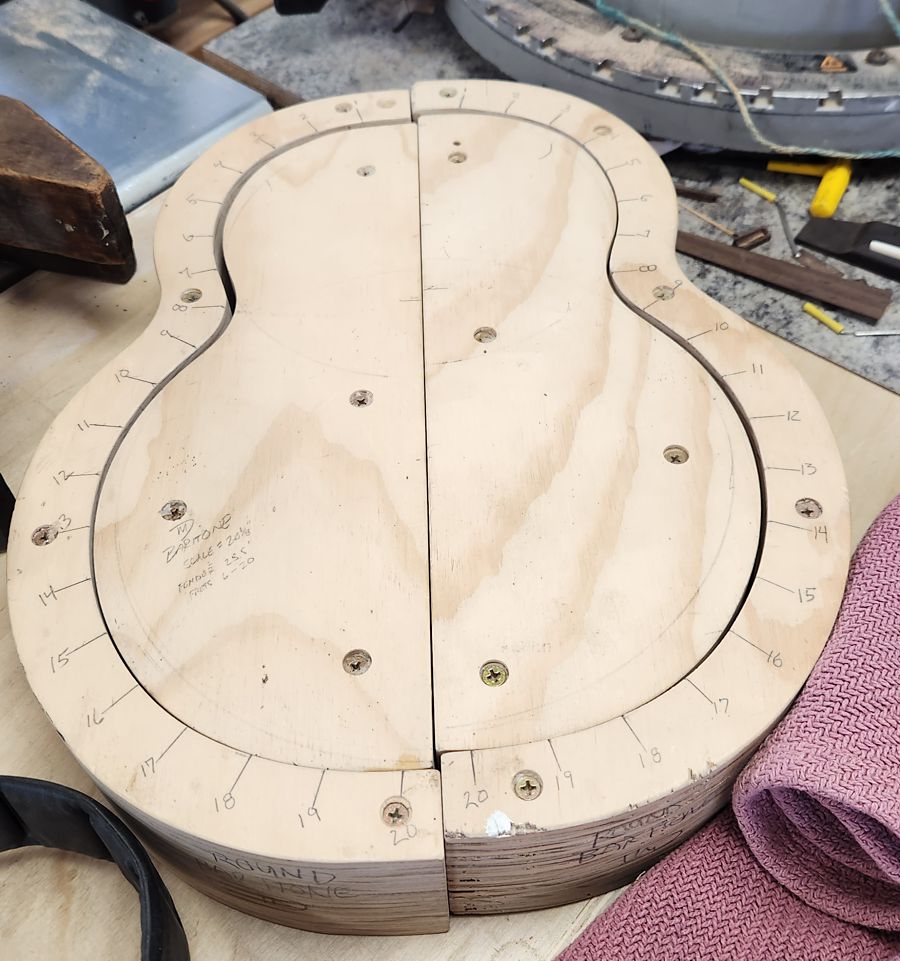
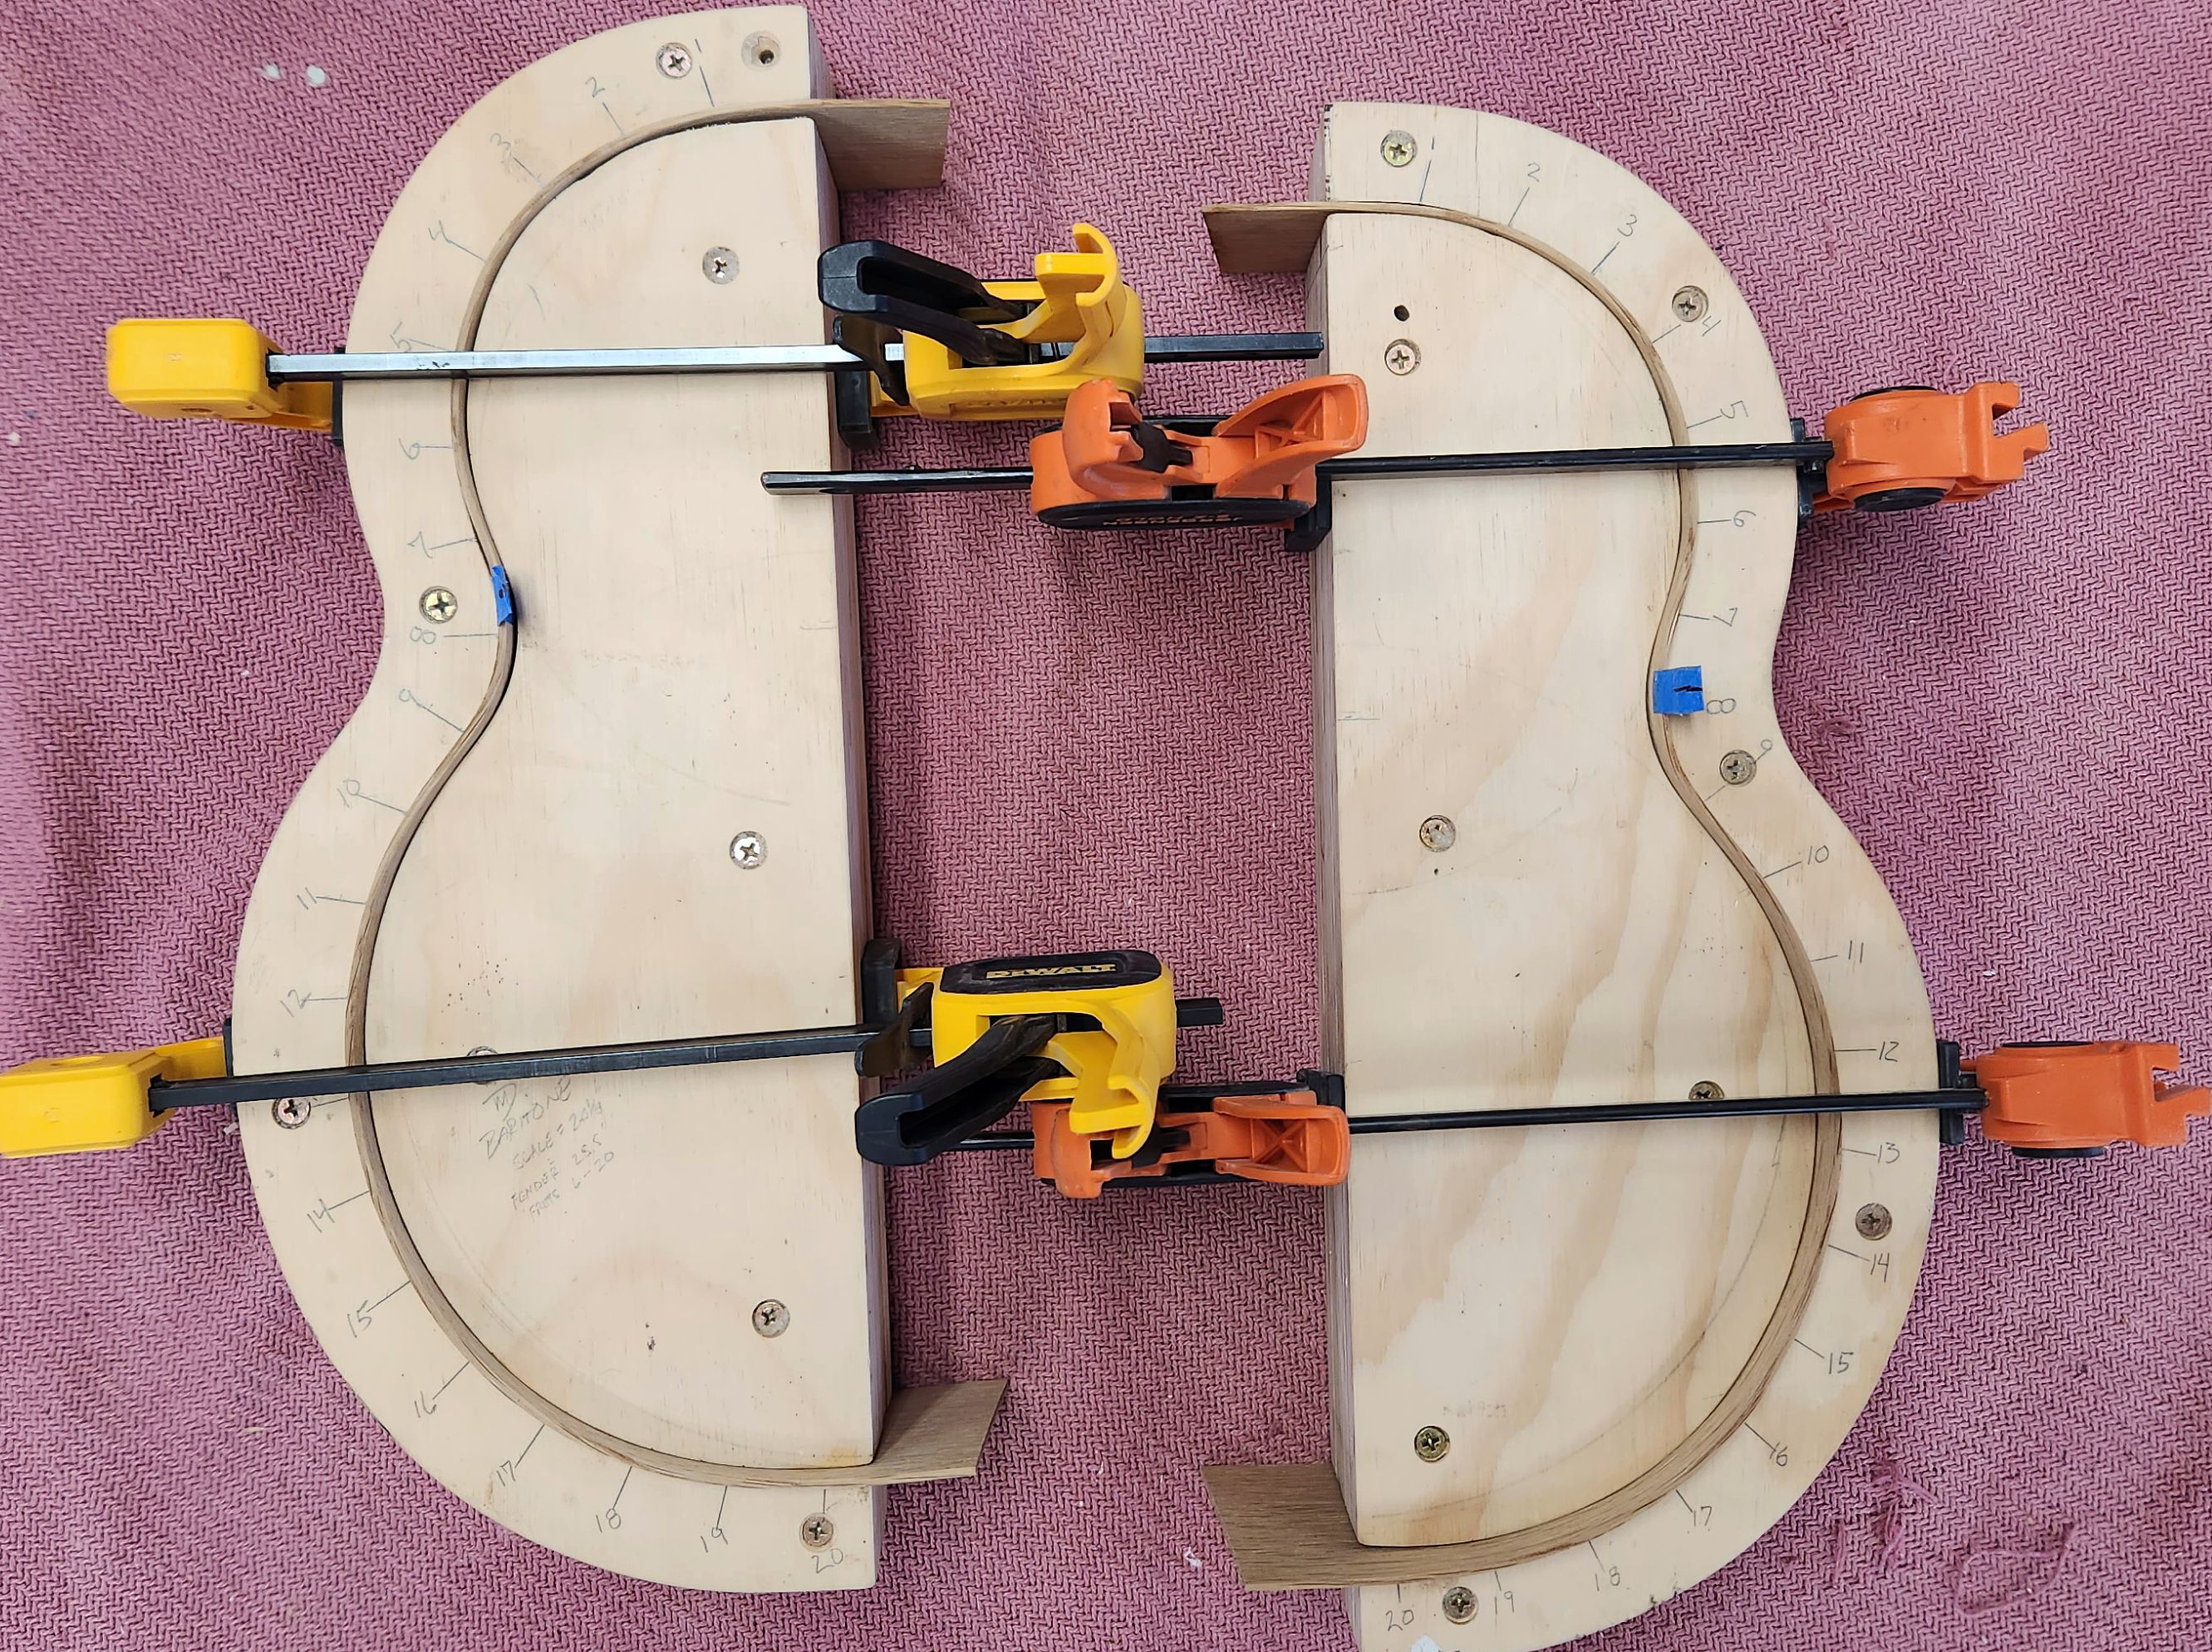
Next, we’ll make a form to hold the body while we build – not unlike a dress maker might use a form to guide the work. We transfer the plan to pieces of ply or fiberboard and make several identical layers, screw them together and add some tick-marks to help identify the waist. Save the middle parts to use when bending the sides.
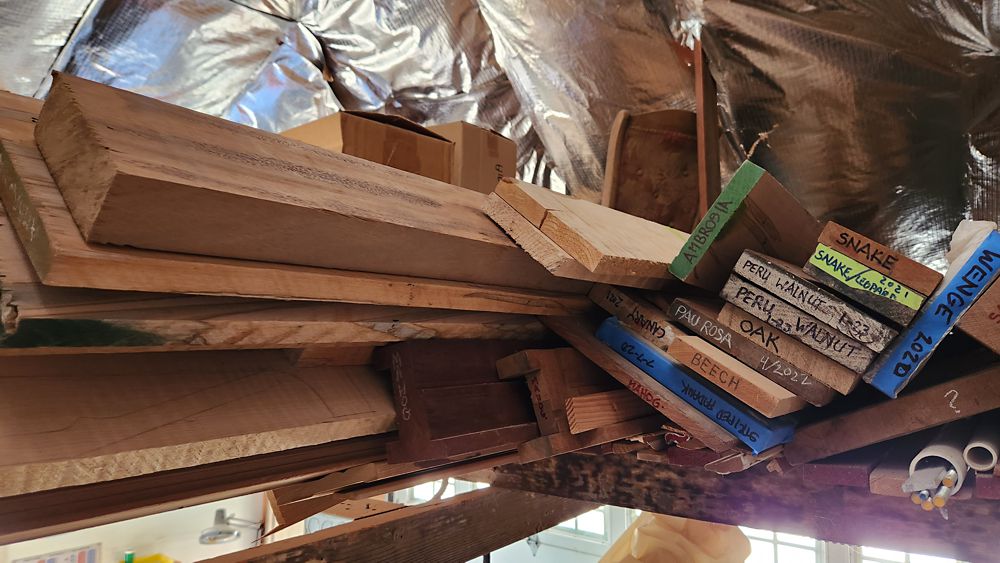
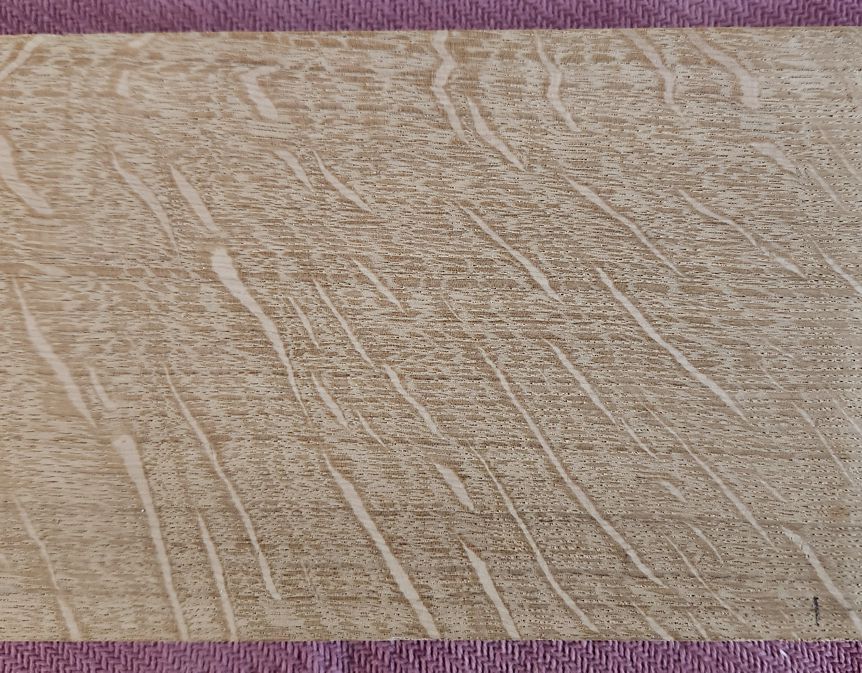
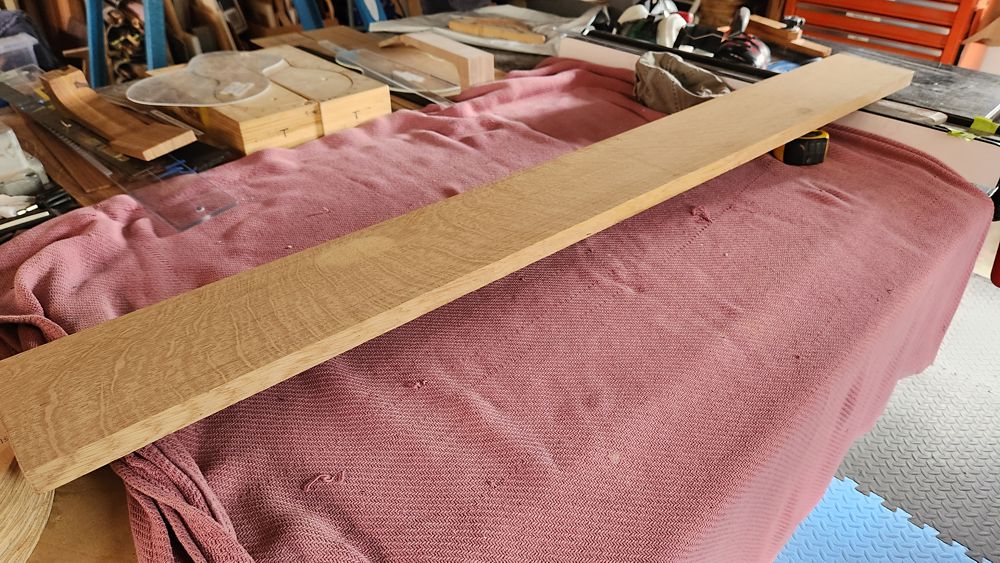
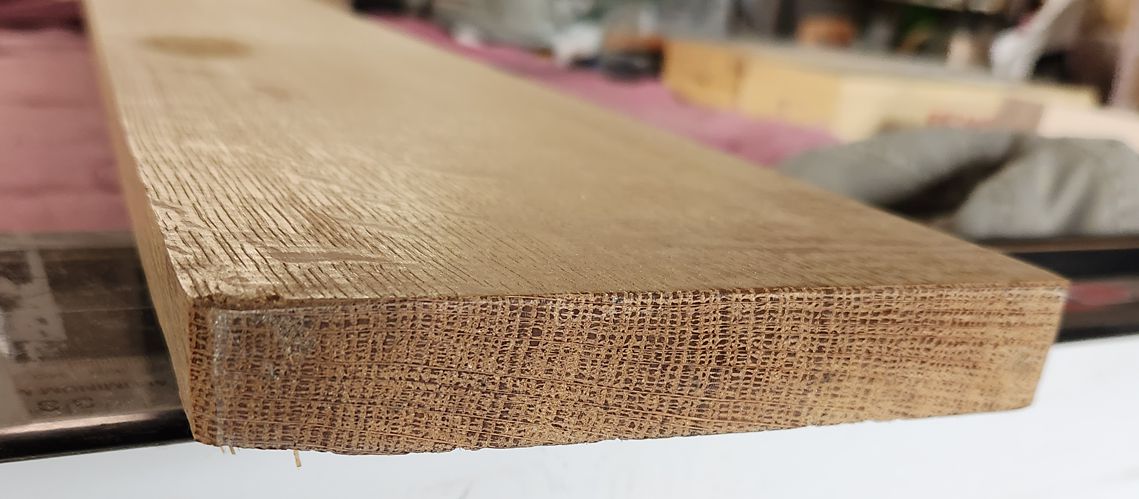
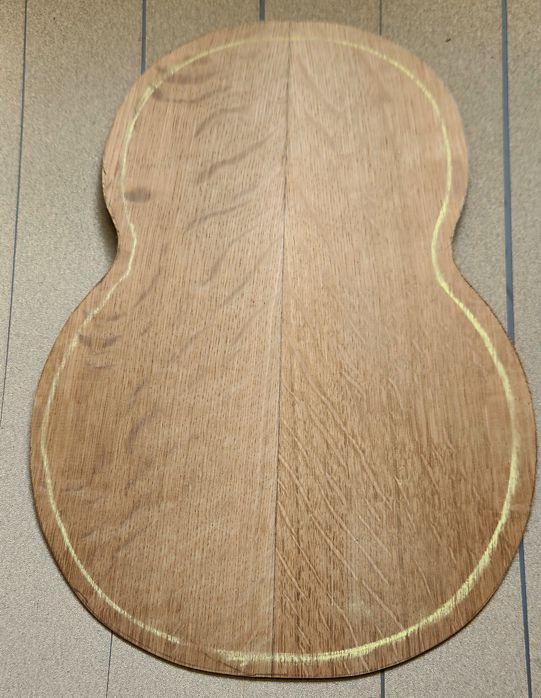
OK, think about what we want it to look/sound like. My dad was a master furniture maker and once asked me why I didn’t try making a guitar out of oak. Oak is solid and very stable and can be a great wood for furniture. But I told him it’s because oak is heavy and cross-grained and doesn’t resonate or ring like say, mahogany or rosewood. Of course, I then attended the NAMM show and saw a Martin dreadnought made of German oak that was gorgeous and sounded great. So I made a little Martin 5-18 copy out of oak as a test and yes, it can be an acceptable guitar wood. Not like rosewood or mahogany but good if thin enough and you like a little less ring/sustain. If dad was still around he’d be happy to see that. So, I’m going to use some 1/4-sawn oak for the back & sides on this little dude and pair it with a torrified Sitka spruce top. I expect it to sound bright but with a soft/thuddy bottom end. The mid-range might be influenced by fluorocarbon strings. It’ll be interesting to hear what happens. This, for me, is one of the most fun aspects of building instruments. Note (below) that the rings of the tree travel from the face of the board to the back face (vertical) — that’s what 1/4-sawing does and it’s important to the instrument sound and appearance.
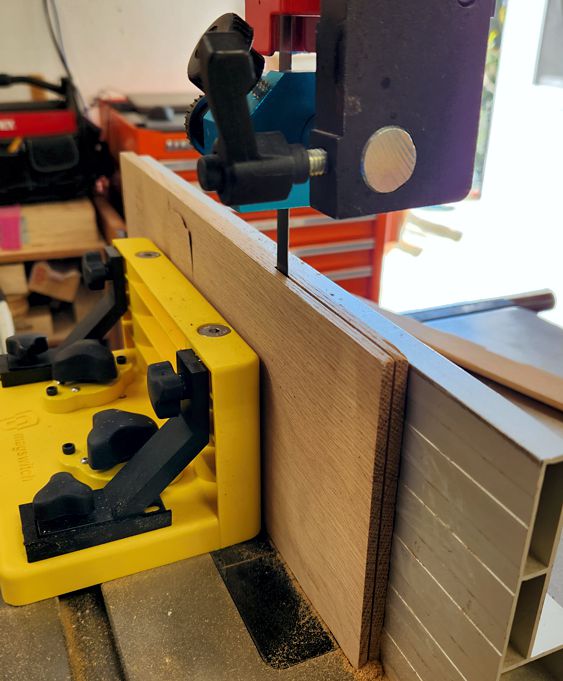
Next, we’ll start milling the parts. This involves using a bandsaw to saw the wood from edge to edge making thin plates for the back & sides — called re-sawing. Note the machine and blade must be aligned well to pull this off.
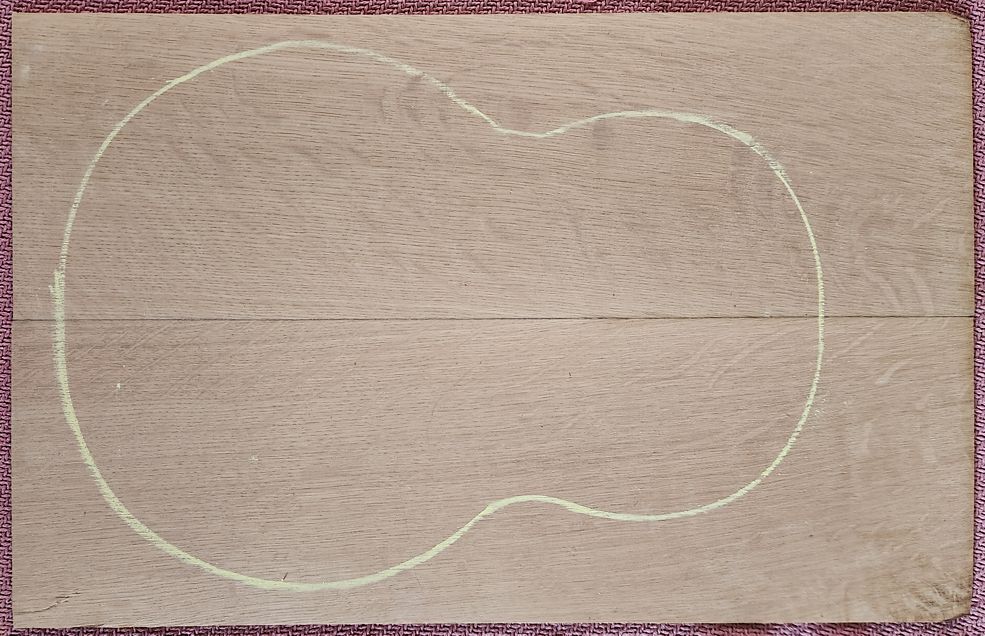
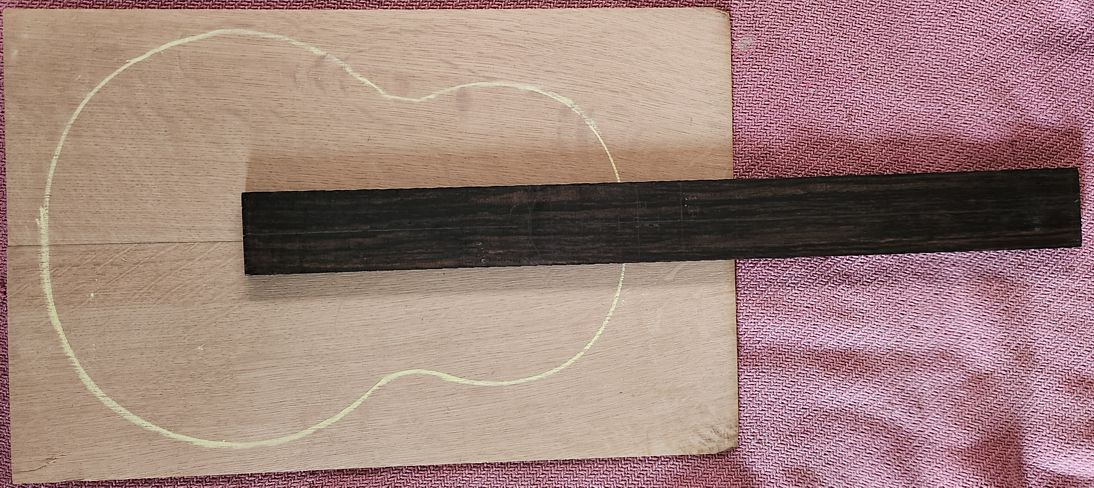
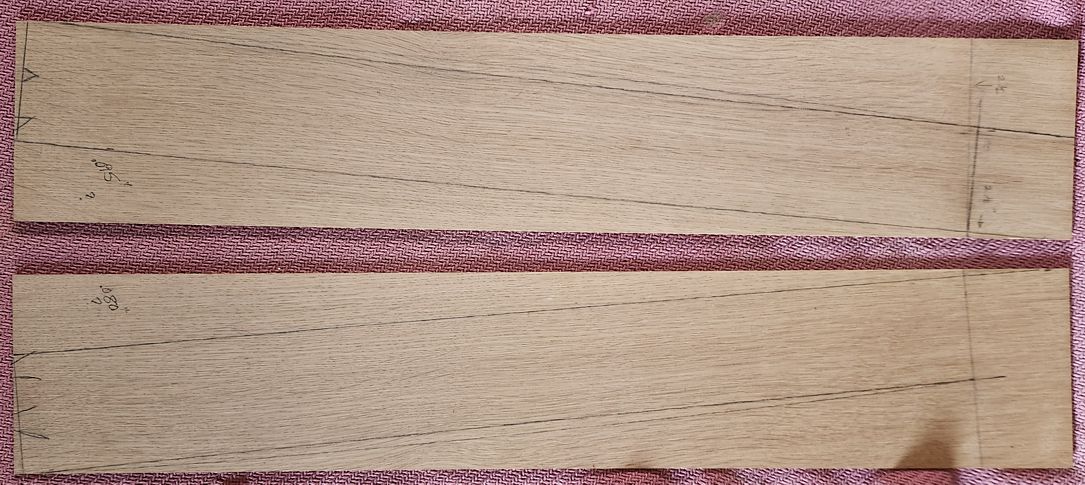
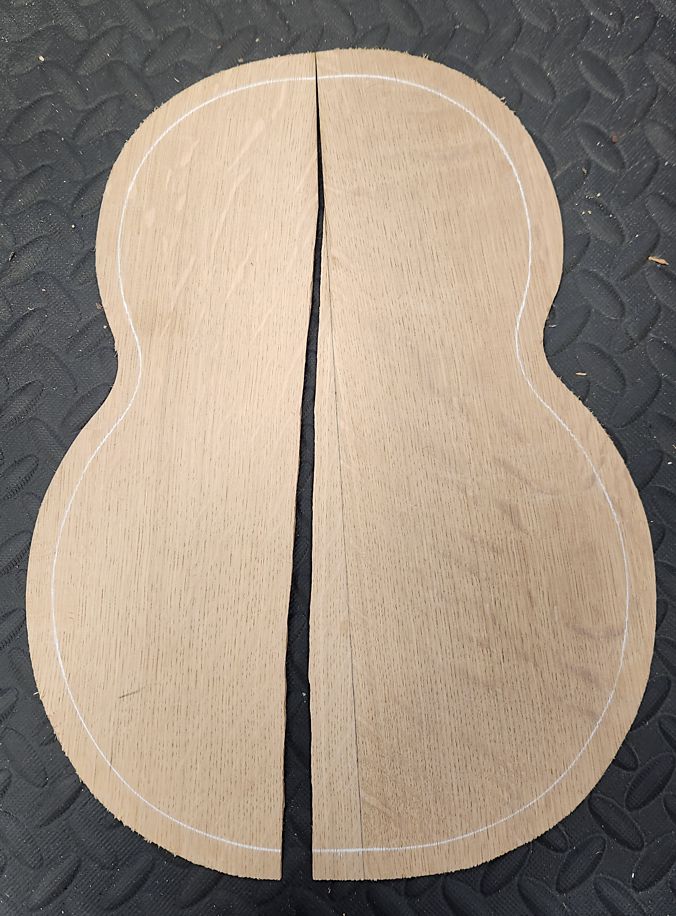
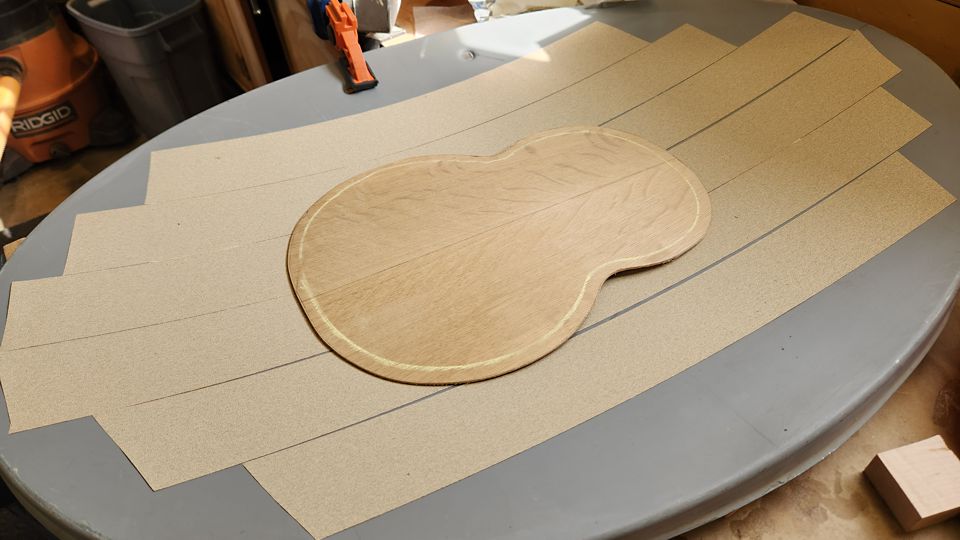
Spend some quality time deciding which part of the joined plates to use. Make an outline to confirm that you’ve got the best part of the plate, avoiding knots, blemishes, etc.. I mark up the sides to follow the grain and avoid twist.
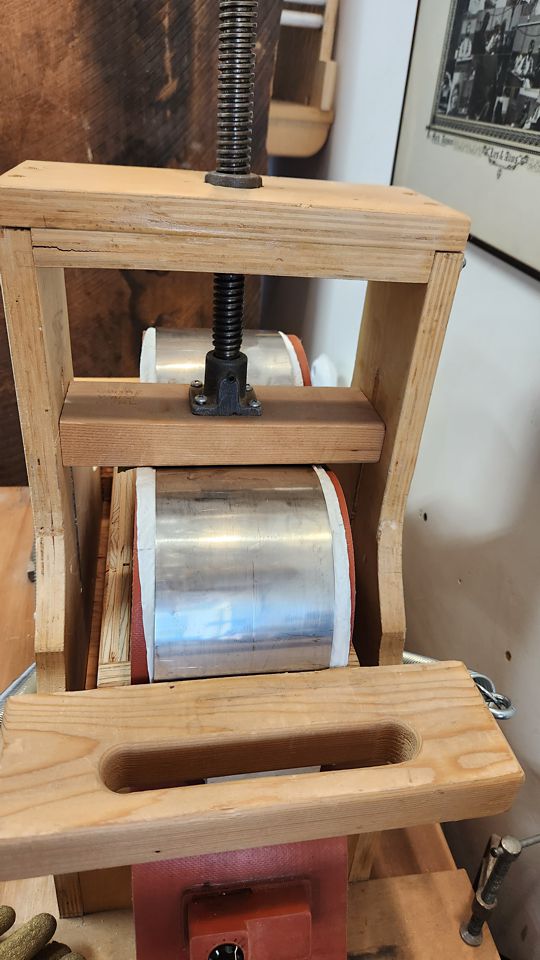
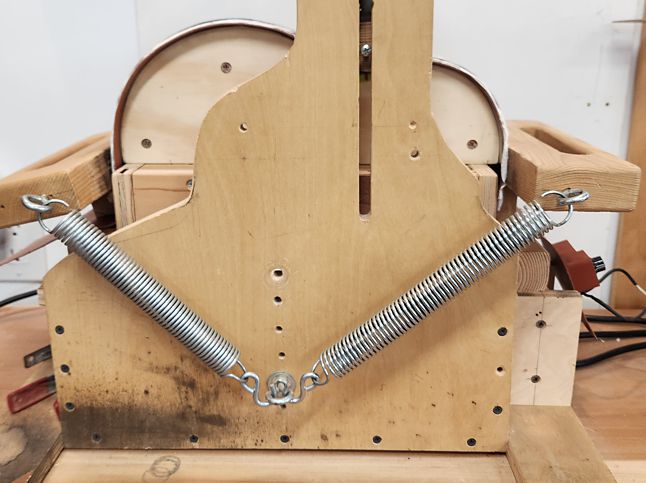
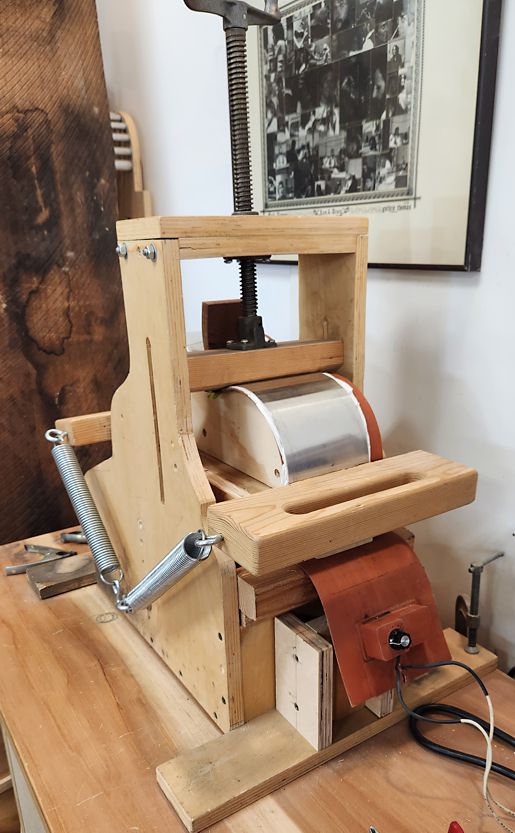
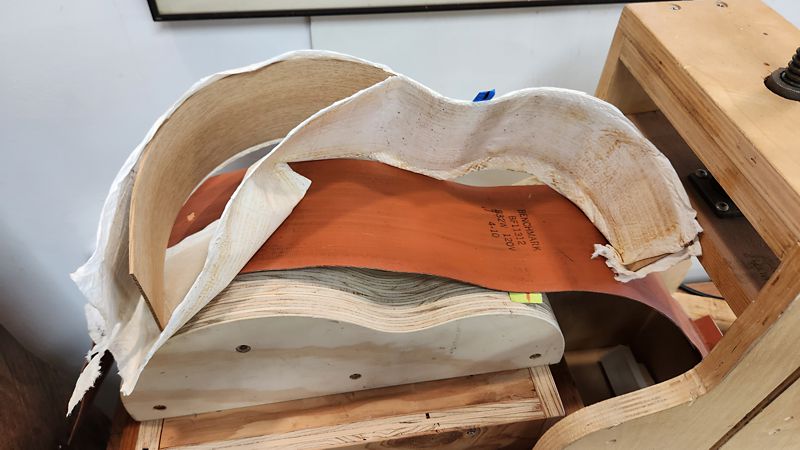
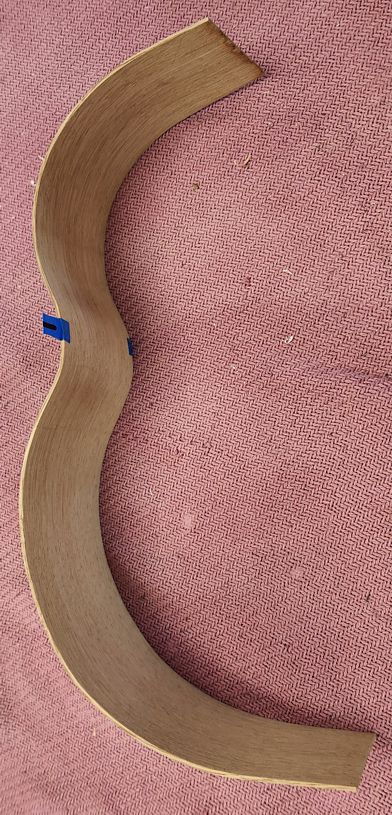
Trim the sides to the outline and sand them down to desired thickness. The current trend is that sides should be strong, like the shell of a snare drum mentioned above. Some builders are laminating sides for extra strength. Once the sides are to thickness, they’re put into the side bender (also called a Fox Bender after Charles Fox the designer of this jig). A sandwich is made from spring steel slats on the outside, paper towels, a heat blanket, the sides, paper towels on the inside. That whole sandwich is placed over a form (above) in the bender. Some builders use water, some don’t depending on the wood and their experience. I usually do. Once the blanket heats up, the steam softens the wood fibers and allows them to bend.
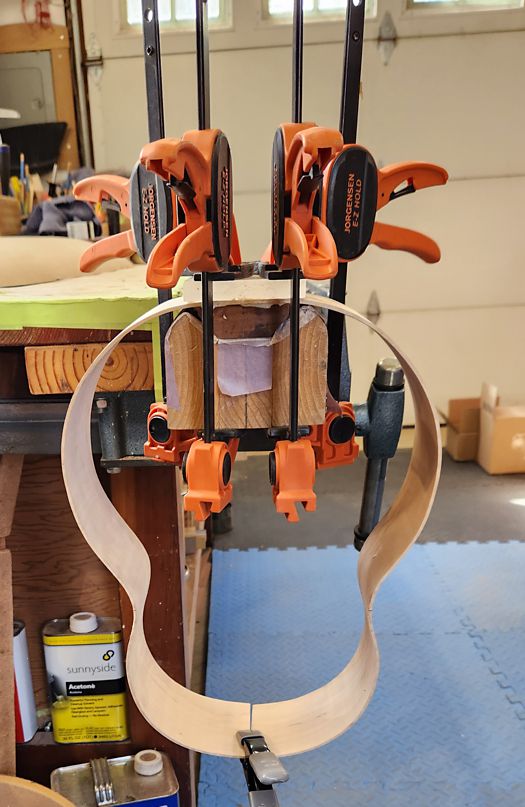
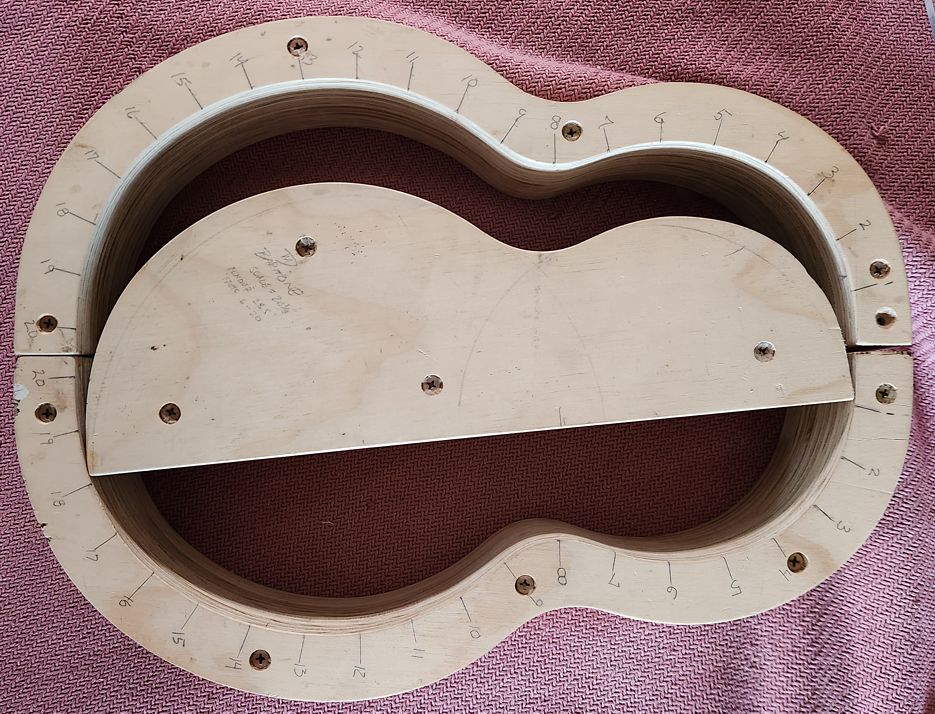
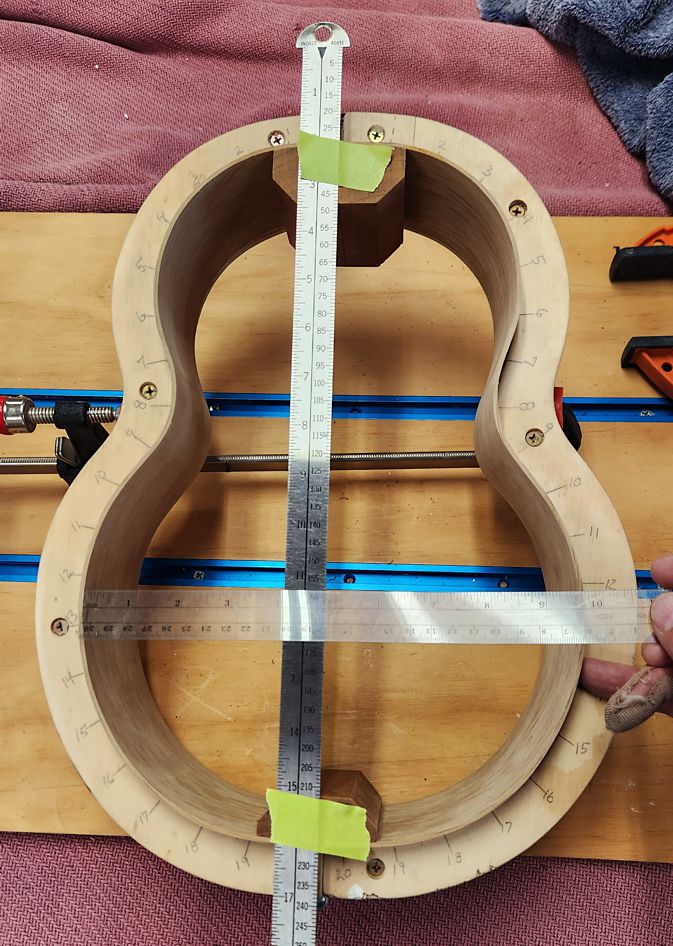
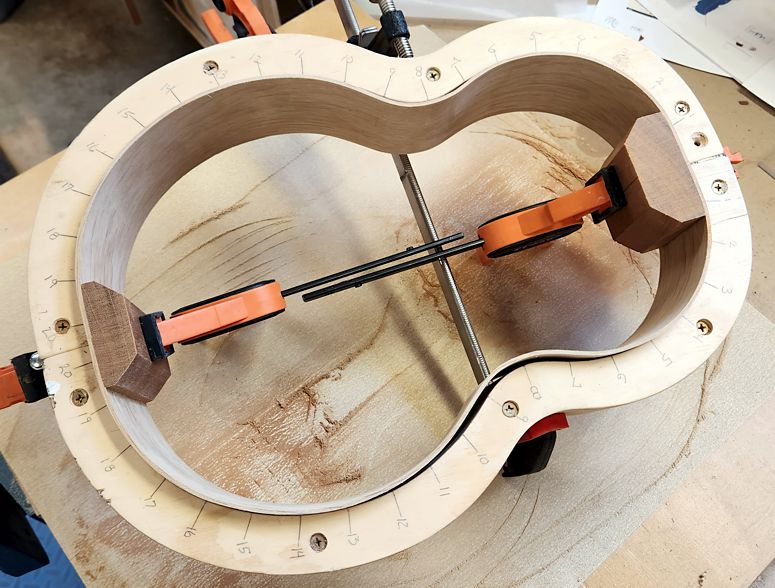
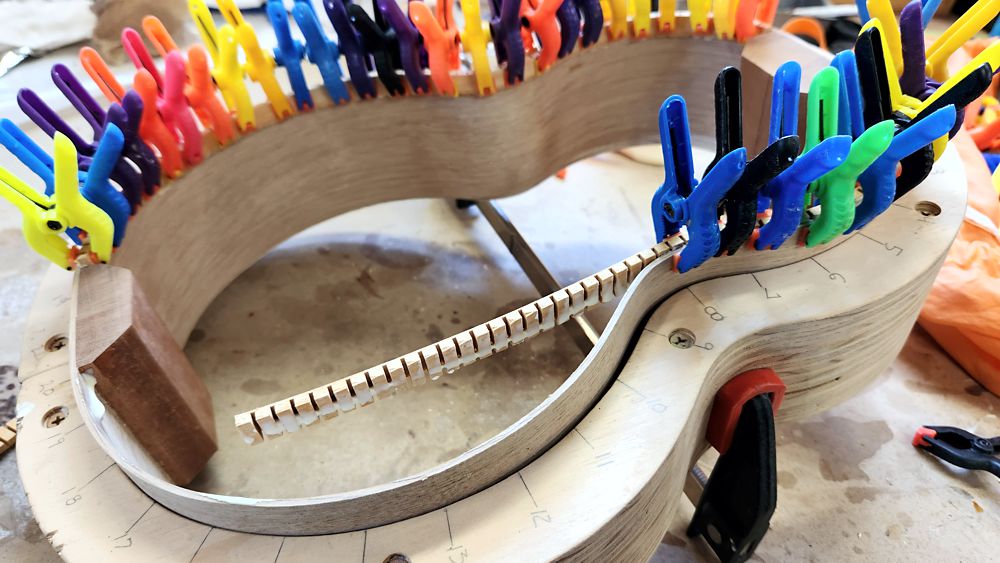
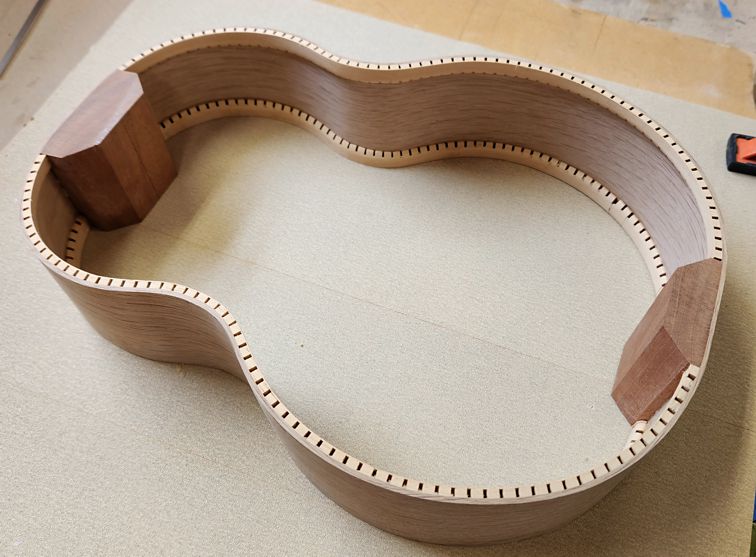
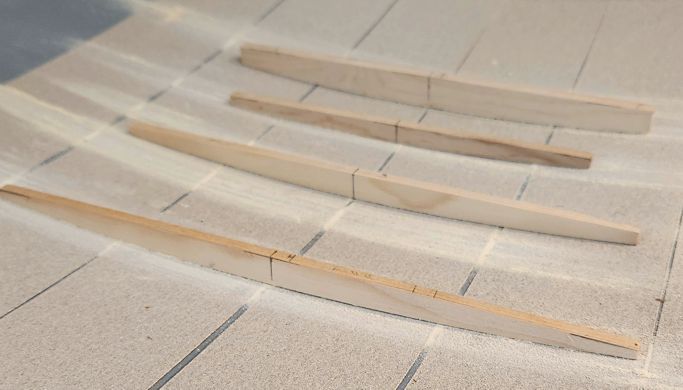
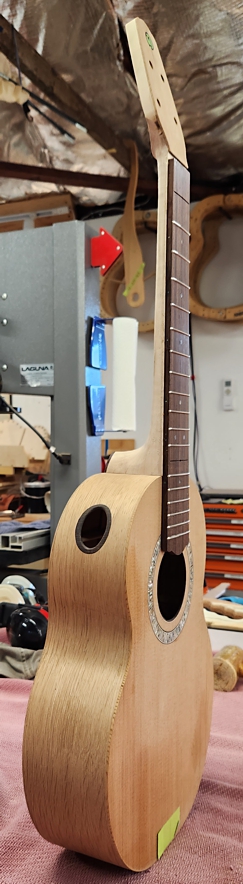
We need some blocks to connect the sides for strength and to attach the neck. We will also need some strength and surface area when we glue the back and top to make this a box. So thin strips of wood with channels or kerfs are glued to the edges of each side. This is similar in concept to a drum – a strong solid rim with a resonant membrane on the face and back. We can check the symmetry by taping a center-line (the silver ruler) and measuring the distance to each side at the upper, mid and lower bouts.
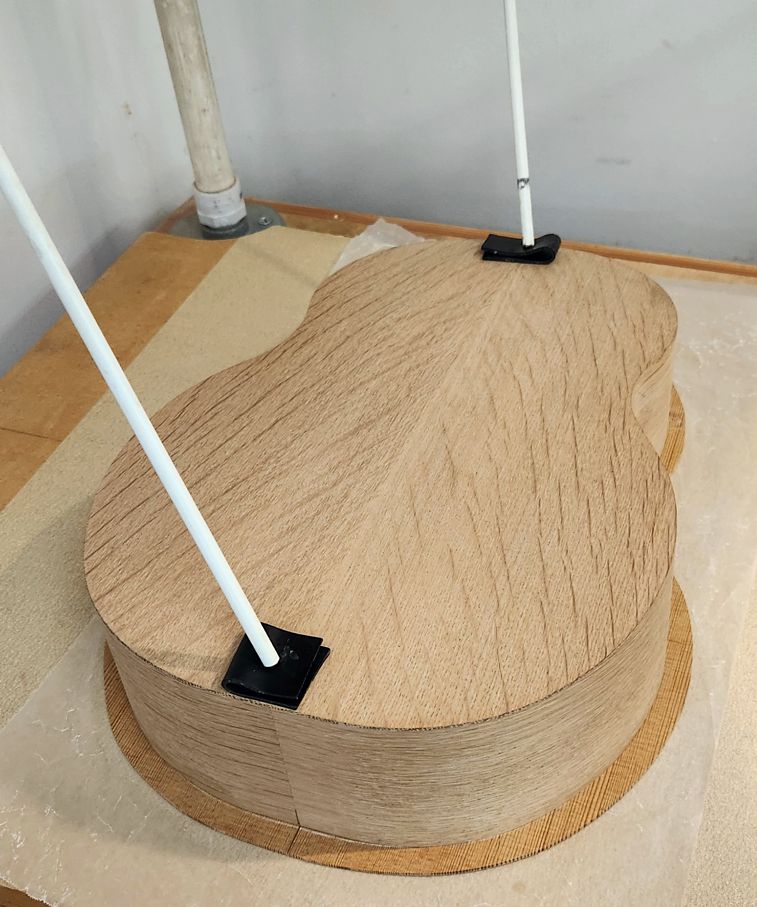
I make the backs of my ukes with a very strong curve by wetting the wood slightly and coaxing it into a satellite dish. Yes, I was walking my dog when I noticed a large satellite TV dish on the curb (a parabolic dish). The homeowner said “yeah, take it”. So I did, and it works most of the time. But I haven’t made an uke for a while and I forgot to wet the wood which instantly split in half. So I made another back, and let the water do its magic. A lesson re-remembered.
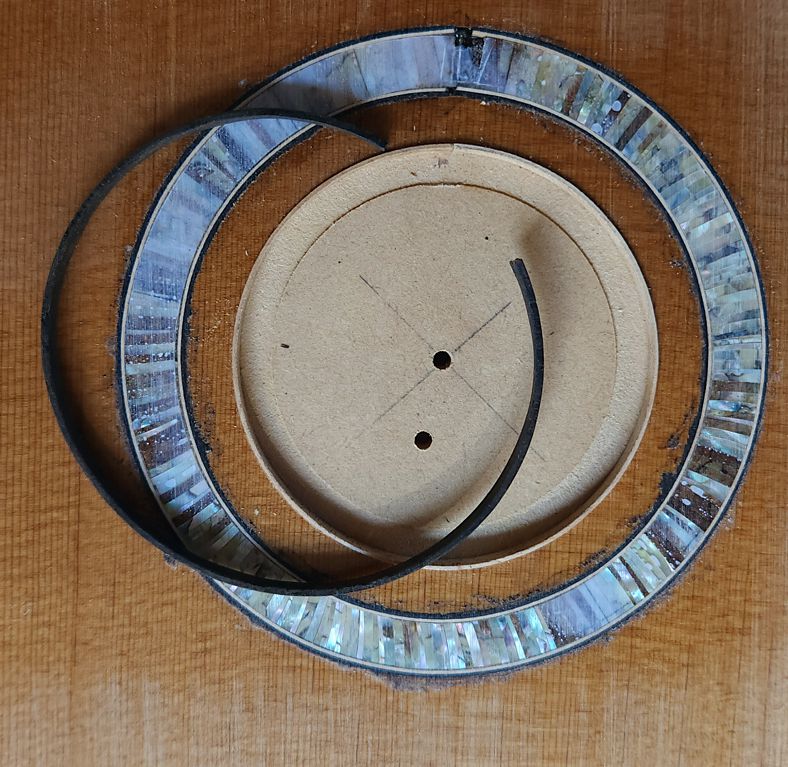
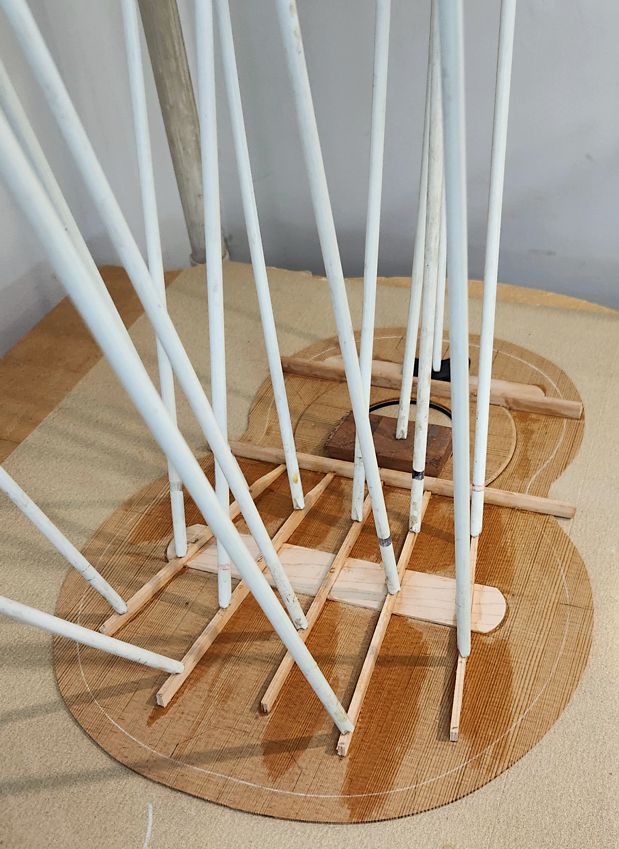
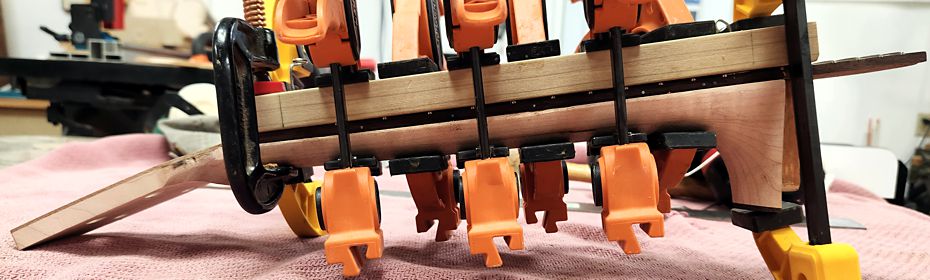
The top and back are next in my process. Both need bracing to perform their jobs. Many builders have different sequences and processes for a variety of reasons. You do it your way. I usually start by bracing the back and while that dries, I move on to the top by installing a rosette followed by shaping the back braces and gluing the back to the sides, gluing the top bracing, carving the top braces and finishing with gluing the top to the complete the box. There are a lot of detail in each of these steps/phases. There are vast resources on-line and in print to explore if you’re curious.

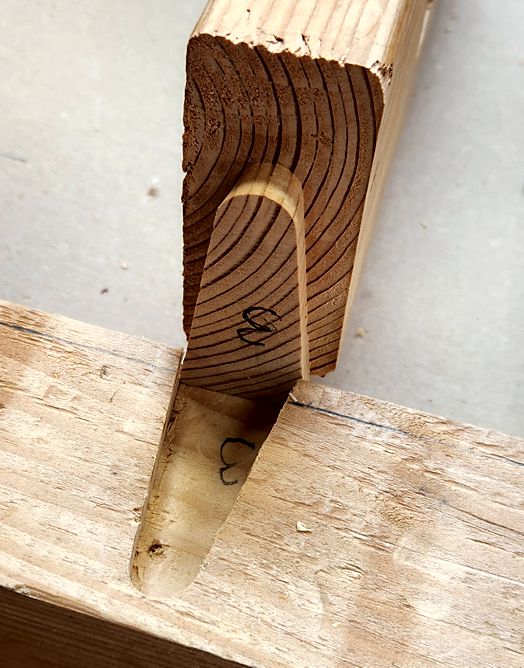
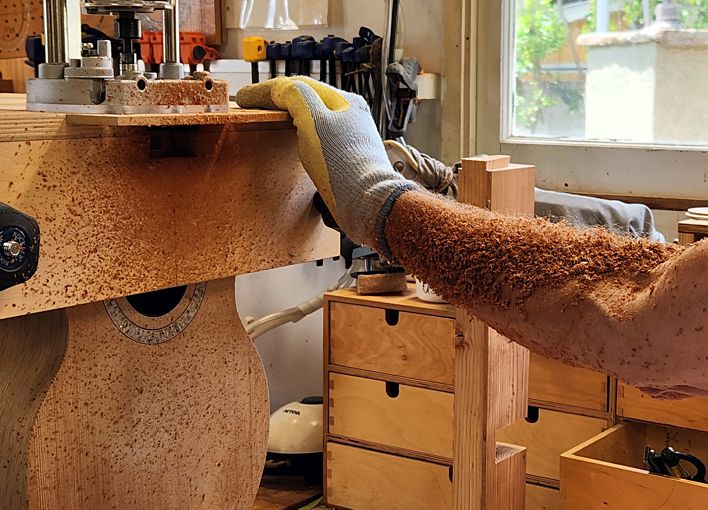
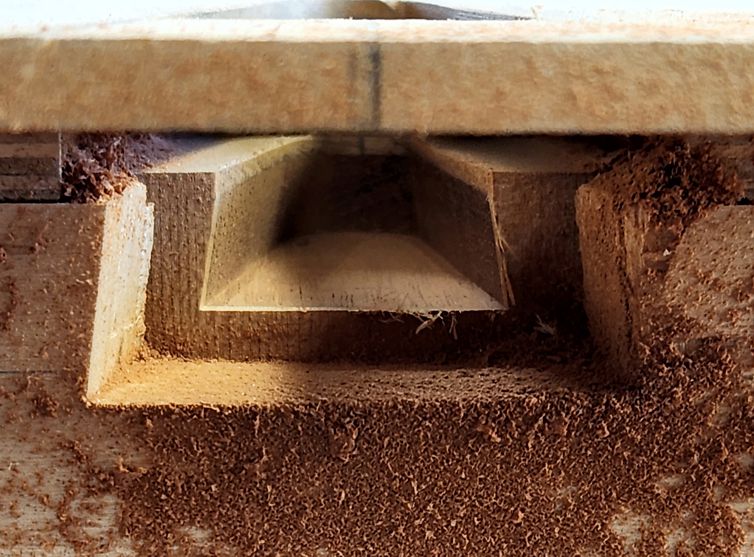
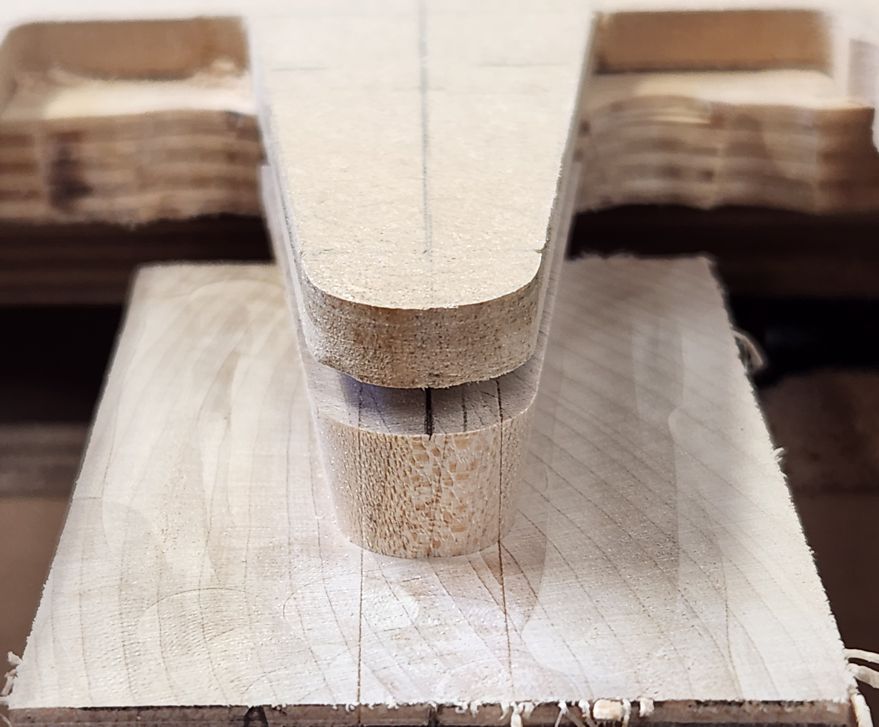
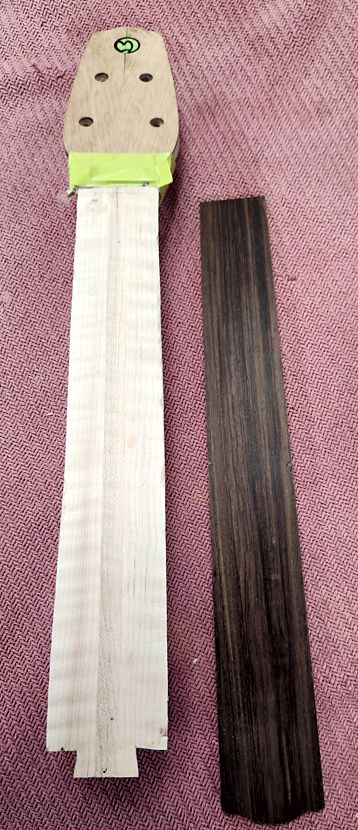
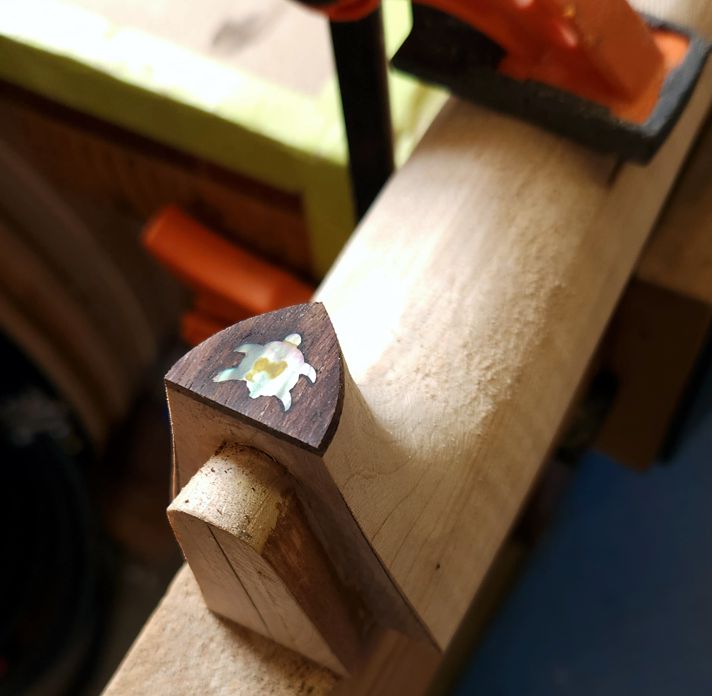
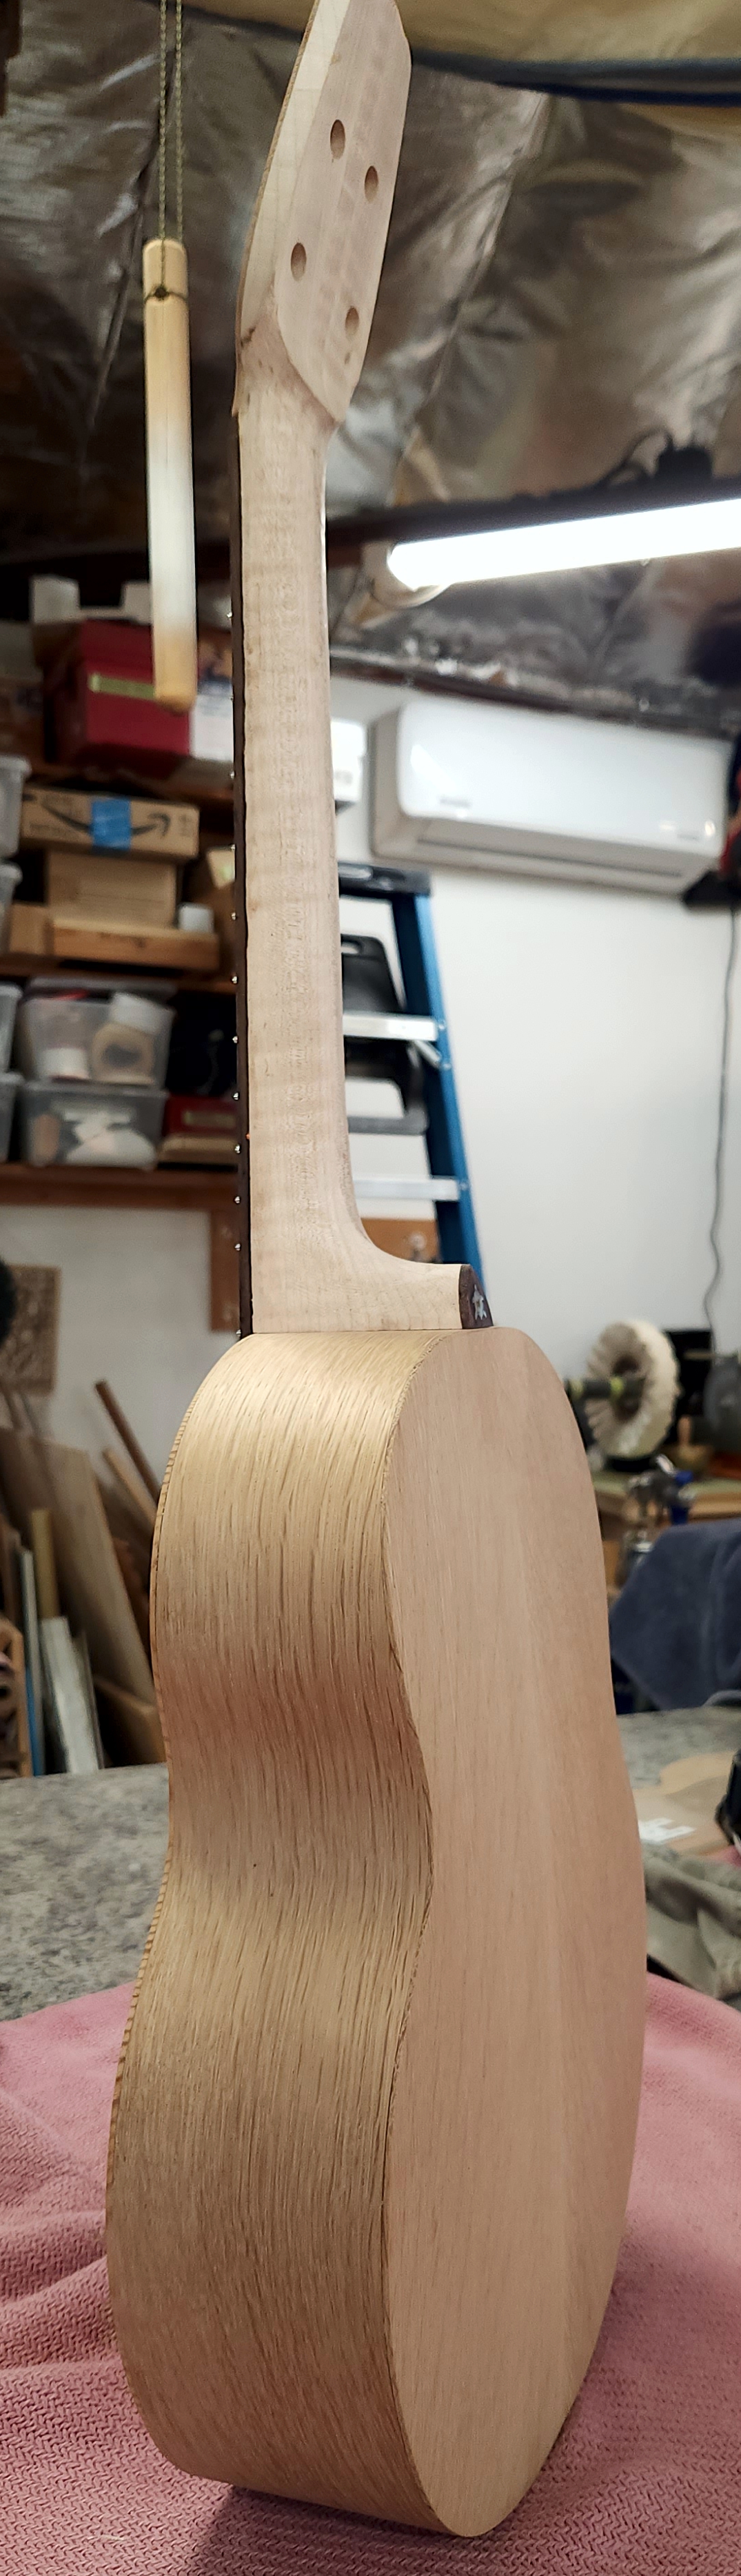
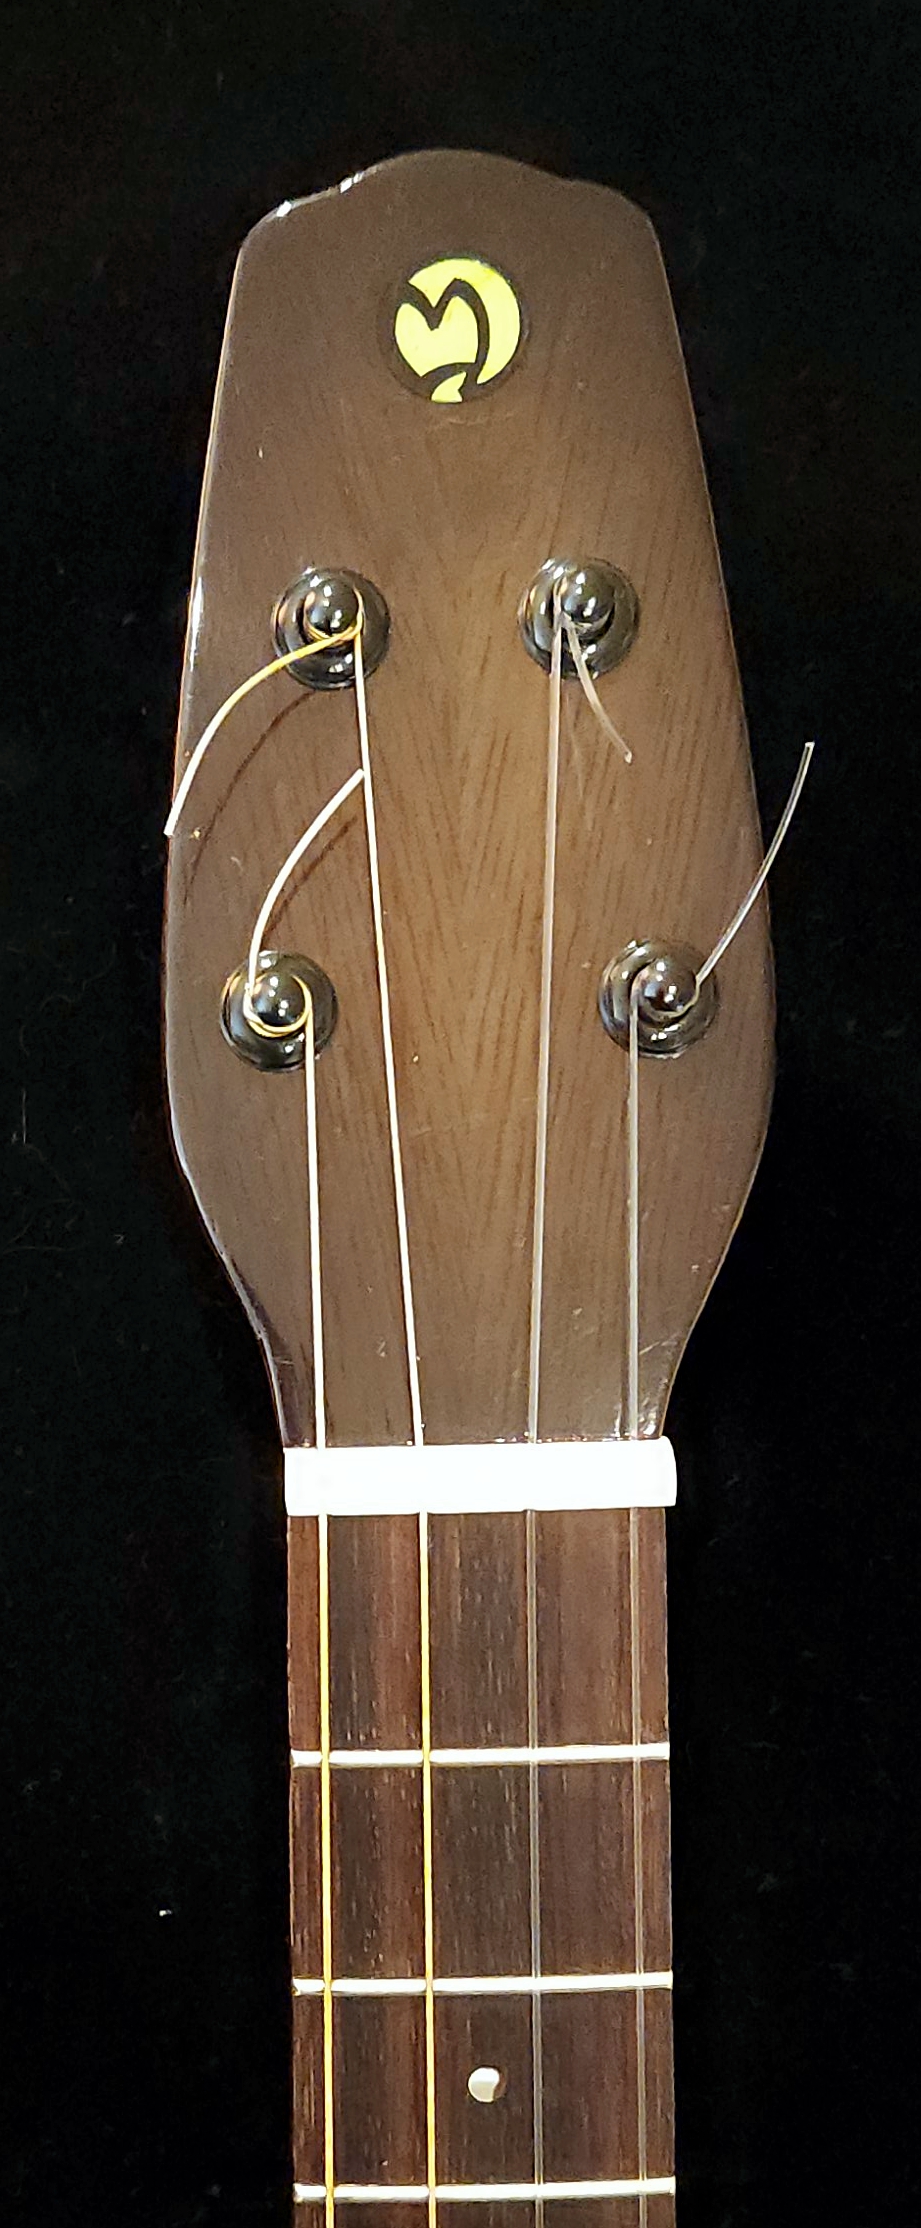
Moving on to the neck. For this build, I laminated three pieces of curly maple to make a neck blank. The grain of each piece counteracts the pull/twist of the other two to create a more stiff and stable neck. Then I cut out the shape and square everything up before cutting the dovetail neck joint. Once that’s done I use rasps, files and chisels to shape the curves. Then glue up the fret board and glue that to the neck.
OK, time to sand it up and head for the finish line.
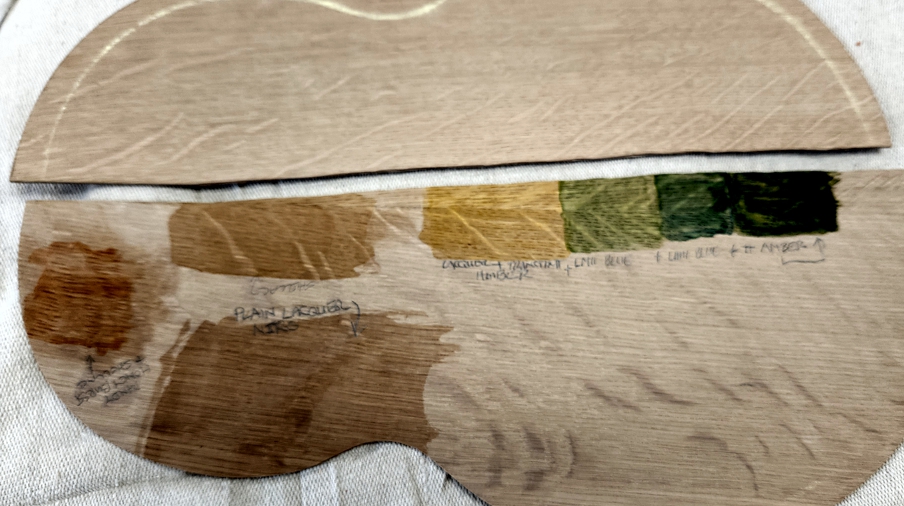
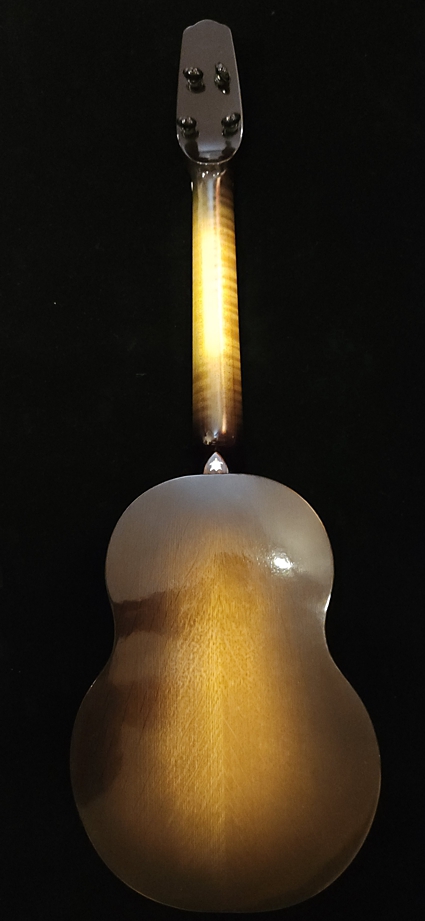
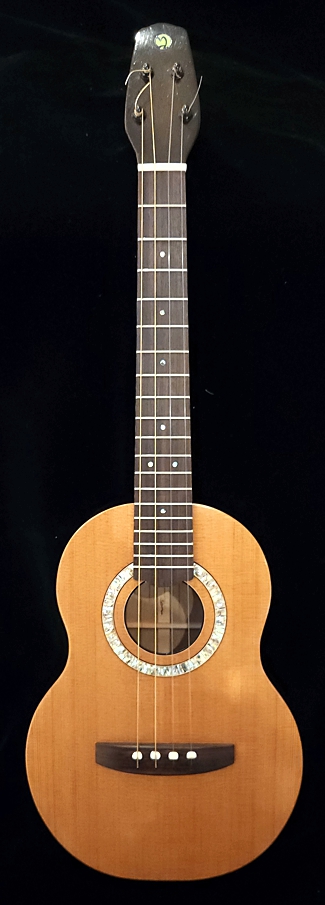
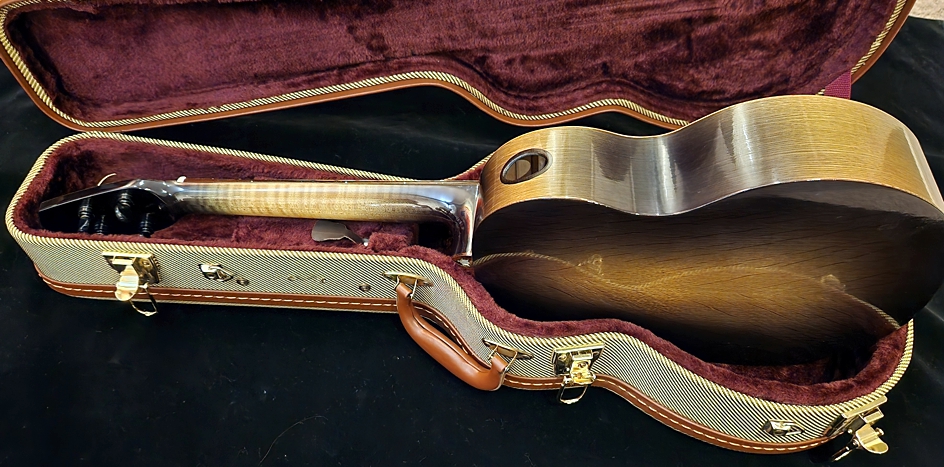
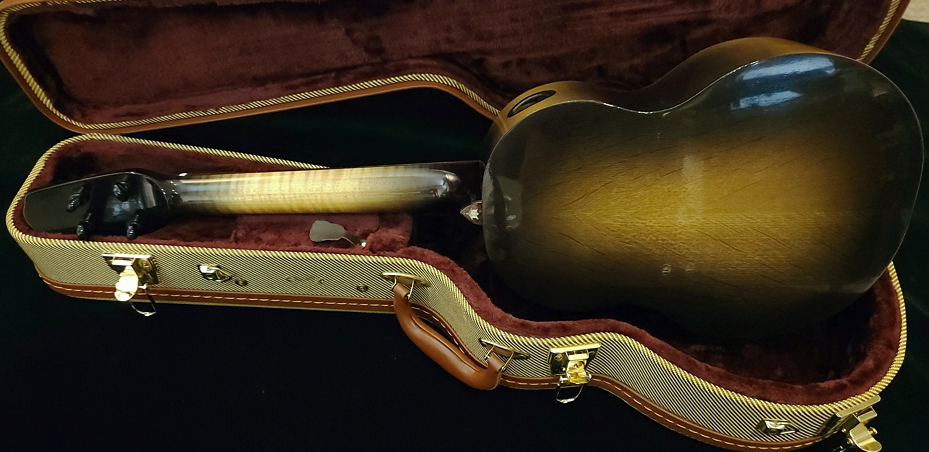
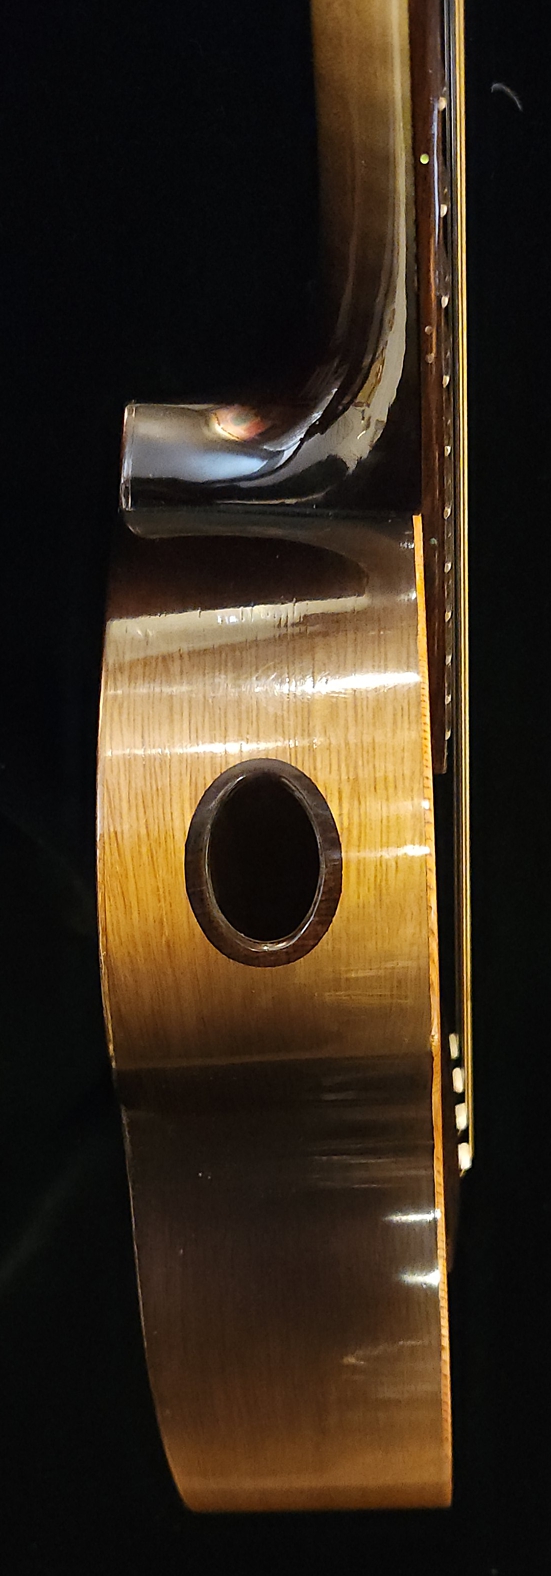

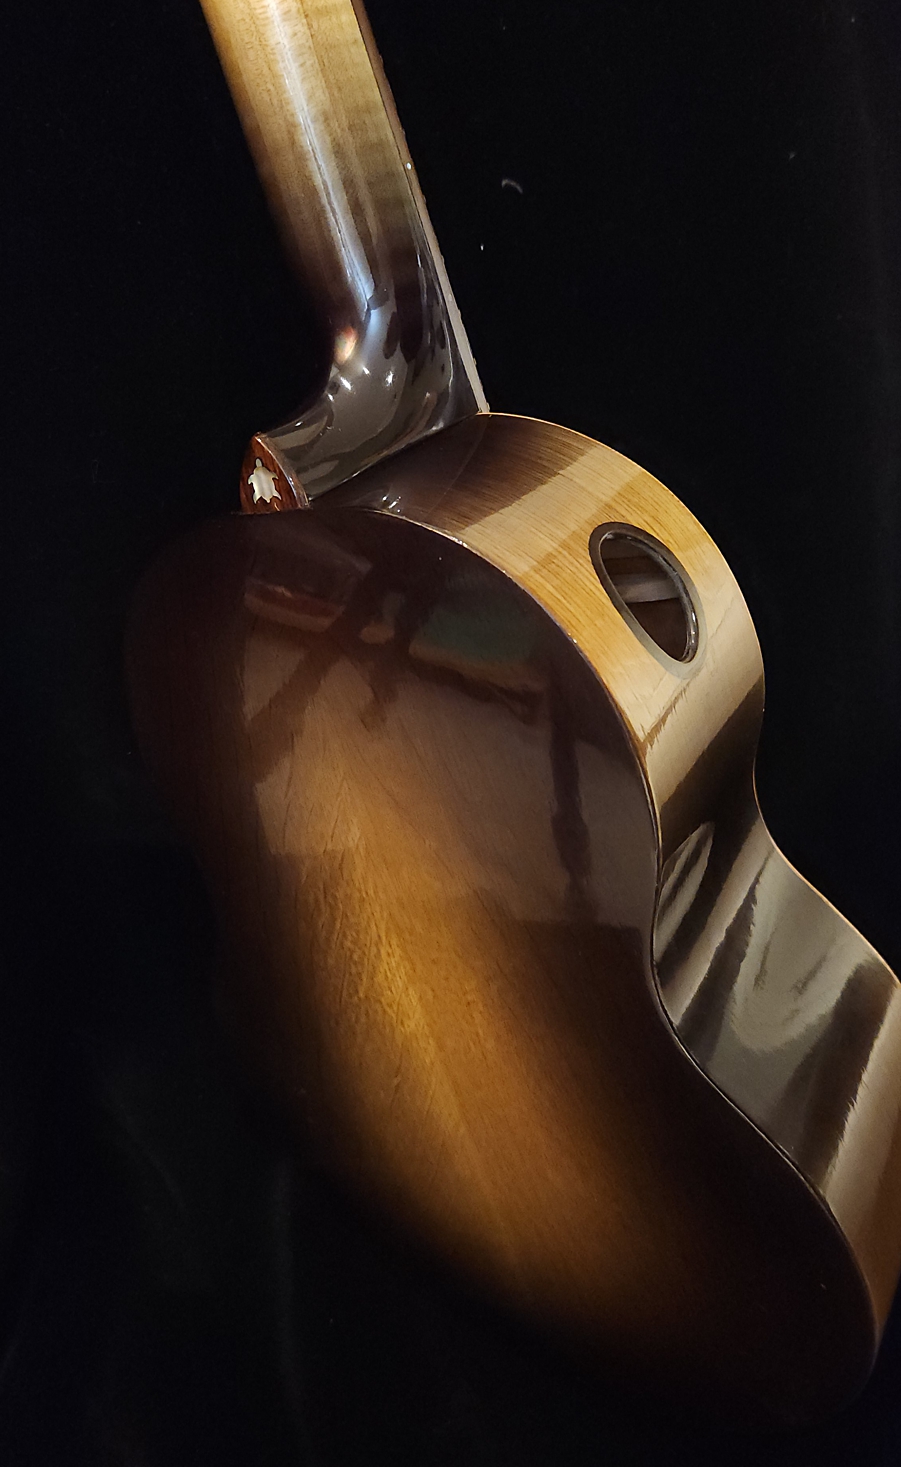
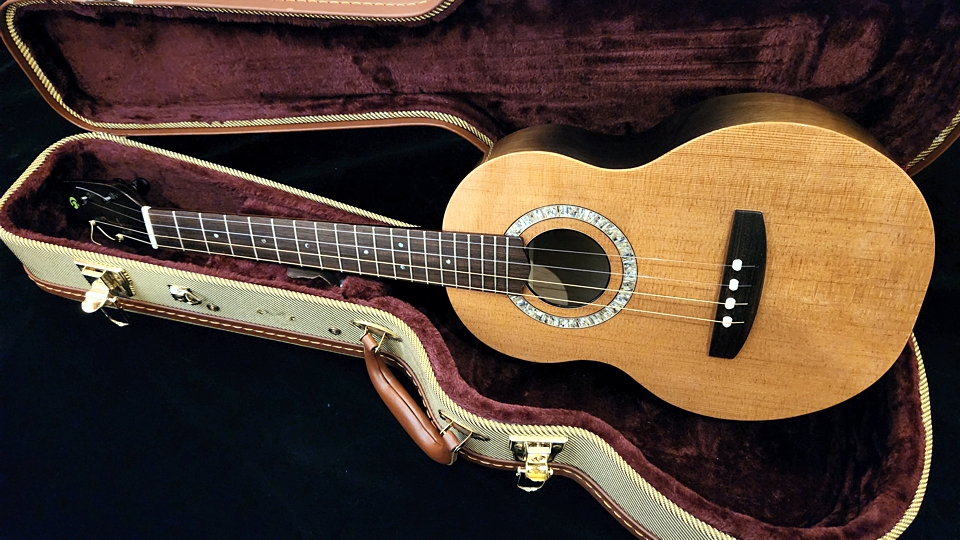
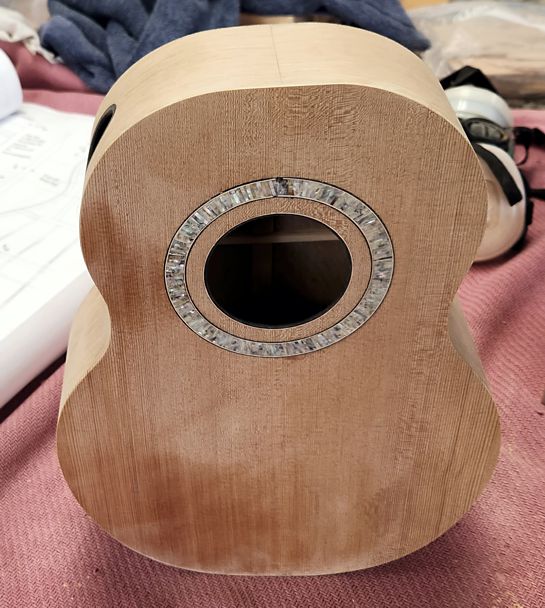
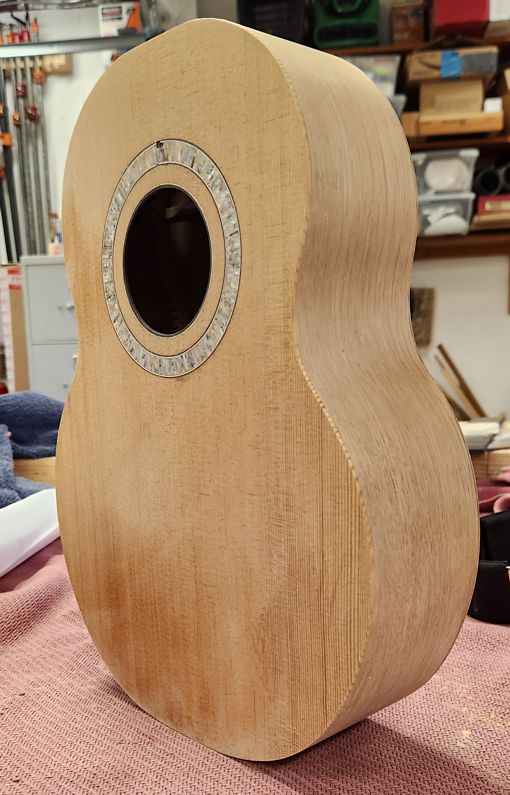
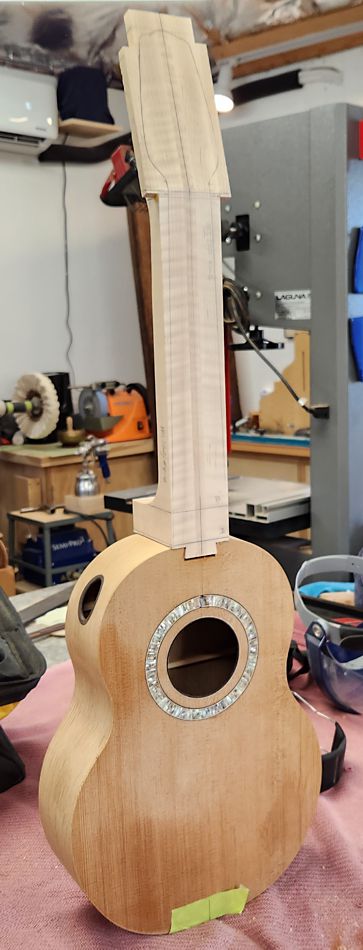
And there you have it. One Baritone Oakulele with a torified sitka top, player’s sound port, custom rosette and olive sunburst finish. Cheers!